In the realm of travel blogging, the desire to integrate a map that showcases the journey taken is a common aspiration. Manually marking all the travel points, however, can be quite cumbersome. While there are several WordPress plugins available for this purpose, they often come with limitations, such as the need for a yearly subscription.
Given that most modern images contain embedded GPS information, manually plotting the route seems redundant. Even a simples map is good enough for most cases. This led me to develop a Python script that simplifies this process. The script scans a folder of images, extracts their GPS data, and generates an HTML file using OpenStreetMap to display the traveled route.
This approach not only saves time but also ensures accuracy, leveraging the GPS metadata embedded in the images. By automating the creation of travel route maps, bloggers can focus more on crafting engaging content and less on tedious tasks.
Inhalt
Usage
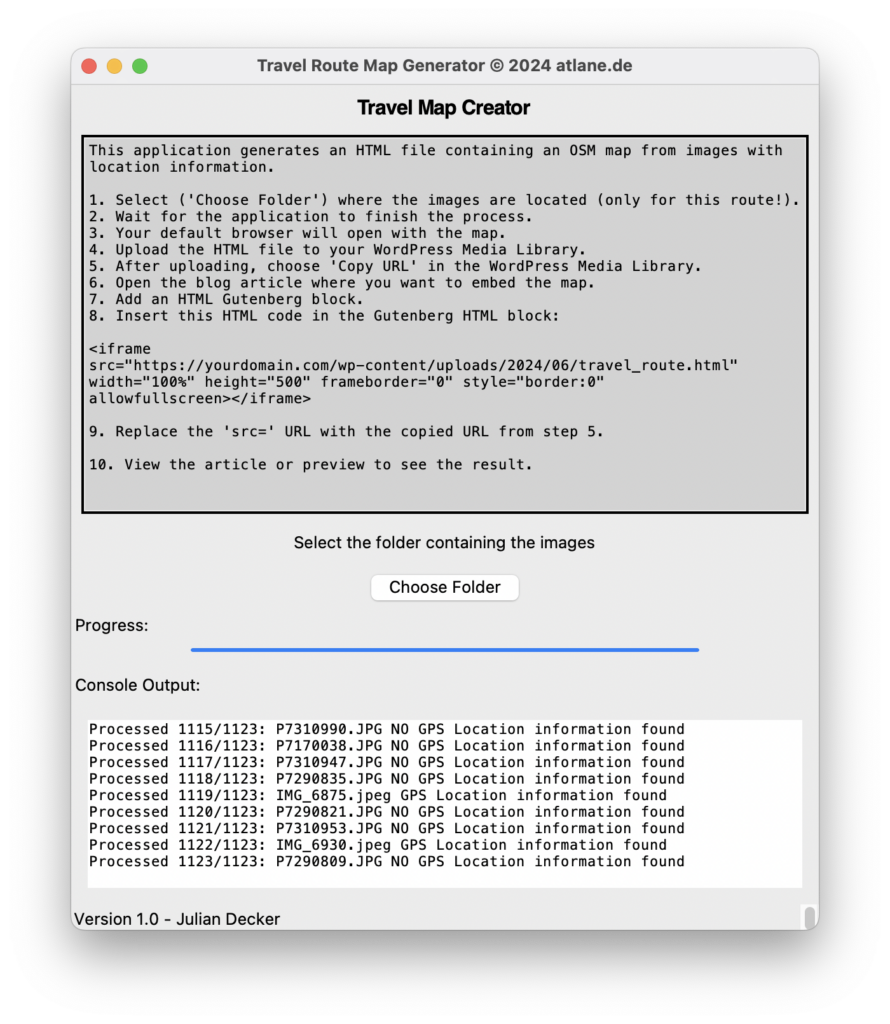
This application generates an HTML file containing an OSM map from images with location information.
- Select (‚Choose Folder‘) where the images are located (only for this route!).
- Wait for the application to finish the process.
- Your default browser will open with the map.
- Upload the HTML file to your WordPress Media Library.
- After uploading, choose ‚Copy URL‘ in the WordPress Media Library.
- Open the blog article where you want to embed the map.
- Add an HTML Gutenberg block.
- Insert this HTML code in the Gutenberg HTML block:
<iframe src="https://yourdomain.com/wp-content/uploads/2024/06/travel_route.html" width="100%" height="500" frameborder="0" style="border:0" allowfullscreen></iframe>- Replace the ’src=‘ URL with the copied URL from step 5.
- View the article or preview to see the result.
Open Source Code
Requirements:
pip install Pillow exifread foliumPython Code:
import os
from PIL import Image
import exifread
import folium
import tkinter as tk
from tkinter import Tk, Button, Label, filedialog, Text, Scrollbar, VERTICAL, RIGHT, Y, END, LEFT
from tkinter.ttk import Progressbar
import webbrowser
import sys
from datetime import datetime
from tkinter import messagebox

def get_geotagging(exif_data):
    """
    Extracts geotagging information from EXIF data.
    """
    if not exif_data:
        return {}

    geotagging = {}
    for (ifd, tag) in exif_data.items():
        if ifd == 'GPS GPSLatitudeRef':
            geotagging['GPSLatitudeRef'] = exif_data[ifd]
        elif ifd == 'GPS GPSLongitudeRef':
            geotagging['GPSLongitudeRef'] = exif_data[ifd]
        elif ifd == 'GPS GPSLatitude':
            geotagging['GPSLatitude'] = exif_data[ifd]
        elif ifd == 'GPS GPSLongitude':
            geotagging['GPSLongitude'] = exif_data[ifd]
    return geotagging

def get_decimal_from_dms(dms, ref):
    """
    Converts GPS coordinates from degrees, minutes, and seconds (DMS) to decimal format.
    """
    degrees = dms.values[0].num / dms.values[0].den
    minutes = dms.values[1].num / dms.values[1].den
    seconds = dms.values[2].num / dms.values[2].den

    decimal = degrees + minutes / 60 + seconds / 3600

    if ref in ['S', 'W']:
        decimal = -decimal

    return decimal

def get_coordinates(geotags):
    """
    Extracts and returns the latitude and longitude from geotags.
    """
    try:
        lat = get_decimal_from_dms(geotags['GPSLatitude'], geotags['GPSLatitudeRef'])
        lon = get_decimal_from_dms(geotags['GPSLongitude'], geotags['GPSLongitudeRef'])
        return (lat, lon)
    except KeyError:
        return None

def extract_geotags_and_date(image_path):
    """
    Extracts geotags and the date the photo was taken from the image EXIF data.
    """
    with open(image_path, 'rb') as image_file:
        tags = exifread.process_file(image_file)
        geotags = get_geotagging(tags)
        if geotags:
            coordinates = get_coordinates(geotags)
            date = tags.get('EXIF DateTimeOriginal')
            if date:
                date = datetime.strptime(str(date), '%Y:%m:%d %H:%M:%S')
            return coordinates, date
    return None, None

def generate_map(image_folder):
    """
    Generates a map from geotagged images in the specified folder.
    Updates the progress bar and console output during processing.
    """
    image_data = []
    images = [f for f in os.listdir(image_folder) if f.lower().endswith(('jpg', 'jpeg', 'png'))]
    total_images = len(images)

    progress_bar['maximum'] = total_images

    for i, filename in enumerate(images):
        image_path = os.path.join(image_folder, filename)
        coords, date = extract_geotags_and_date(image_path)

        gps_information_found = False
        if coords and date:
            image_data.append((coords, date))
            gps_information_found = True

        progress_bar['value'] = i + 1
        progress_text = f"Processed {i + 1}/{total_images}: {filename} "

        if gps_information_found:
            progress_text += "GPS Location information found"
        else:
            progress_text += "NO GPS Location information found"

        console_output.insert(END, progress_text + "\n")
        console_output.see(END)
        root.update_idletasks()

    if not image_data:
        console_output.insert(END, "No geotagged images found.\n")
        console_output.see(END)
        return None

    # Sort images by date
    image_data.sort(key=lambda x: x[1])

    # Extract sorted coordinates
    coordinates = [data[0] for data in image_data]

    # Remove duplicates and simplify the path
    coordinates = list(dict.fromkeys(coordinates))

    map_center = coordinates[0]
    travel_map = folium.Map(location=map_center, zoom_start=12)
    folium.PolyLine(coordinates).add_to(travel_map)

    # Calculate bounds
    min_lat = min(coordinates, key=lambda x: x[0])[0]-0.05
    max_lat = max(coordinates, key=lambda x: x[0])[0]+0.05
    min_lon = min(coordinates, key=lambda x: x[1])[1]-0.05
    max_lon = max(coordinates, key=lambda x: x[1])[1]+0.05

    # Fit map to bounds
    travel_map.fit_bounds([[min_lat, min_lon], [max_lat, max_lon]])

    map_path = os.path.join(image_folder, 'travel_route.html')
    travel_map.save(map_path)
    return map_path

def open_map(map_path):
    """
    Opens the generated map in the default web browser.
    """
    if map_path:
        webbrowser.open('file://' + os.path.realpath(map_path))
        messagebox.showinfo("Map Generated", f"Map HTML-File: {map_path}")
    else:
        console_output.insert(END, "No map to display.\n")
        console_output.see(END)

def select_folder():
    """
    Opens a folder dialog to select the folder containing the images.
    """
    folder_selected = filedialog.askdirectory()
    if folder_selected:
        map_path = generate_map(folder_selected)
        open_map(map_path)

# Tkinter GUI setup
root = tk.Tk()
root.title("Travel Route Map Generator © 2024 atlane.de")

# Add Heading
heading = Label(root, text="Travel Map Creator", font=("Helvetica", 16, "bold"))
heading.pack(pady=5)

# Information
information = Text(root, height=22, wrap='word', bd=2, background="lightgray")
information.pack(pady=5)

information_text = "This application generates an HTML file containing an OSM map from images with location information.\n"
information_text += "\n1. Select ('Choose Folder') where the images are located (only for this route!)."
information_text += "\n2. Wait for the application to finish the process."
information_text += "\n3. Your default browser will open with the map."
information_text += "\n4. Upload the HTML file to your WordPress Media Library."
information_text += "\n5. After uploading, choose 'Copy URL' in the WordPress Media Library."
information_text += "\n6. Open the blog article where you want to embed the map."
information_text += "\n7. Add an HTML Gutenberg block."
information_text += "\n8. Insert this HTML code in the Gutenberg HTML block:\n"
information_text += '\n<iframe src="https://yourdomain.com/wp-content/uploads/2024/06/travel_route.html" width="100%" height="500" frameborder="0" style="border:0" allowfullscreen></iframe>\n'
information_text += "\n9. Replace the 'src=' URL with the copied URL from step 5.\n"
information_text += "\n10. View the article or preview to see the result.\n"


information.insert(END, information_text)
information.see

# Add main content
Label(root, text="Select the folder containing the images").pack(pady=5)
Button(root, text="Choose Folder", command=select_folder).pack(pady=5)

# Add Progress Bar
progress_bar_label = Label(root, text="Progress:")
progress_bar_label.pack(anchor='w')
progress_bar = Progressbar(root, orient='horizontal', length=400, mode='determinate')
progress_bar.pack(pady=2)

# Add Console Output Label
console_output_label = Label(root, text="Console Output:")
console_output_label.pack(pady=5, anchor='w')  # Align to the left

# Add Console Output
console_output = Text(root, height=10, wrap='word')
console_output.pack(pady=10, padx=10, fill='both', expand=True)
scrollbar = Scrollbar(root, command=console_output.yview)
console_output.config(yscrollcommand=scrollbar.set)
scrollbar.pack(side=RIGHT, fill=Y)

# Add Status Bar
status_bar = Label(root, text="Version 1.0 - Julian Decker", bd=1, anchor=tk.W)
status_bar.pack(side=tk.BOTTOM, fill=tk.X)

root.mainloop()Download (Executable)
Windows
macOS
Due to code-signing issues on newer macOS versions, you need to open a terminal and remove the application from quarantine with the following command:

xattr -d com.apple.quarantine ./Tavel\ Map\ Generator.app
If anyone is willing to compile the code on other Operating Systems, please feel free to contact me, and I will provide the necessary instructions and post the executable. Compilation using PyInstaller can be done by following these steps:
pyinstaller --onefile --windowed --icon=travel-map-generator.ico Tavel\ Map\ Generator.py